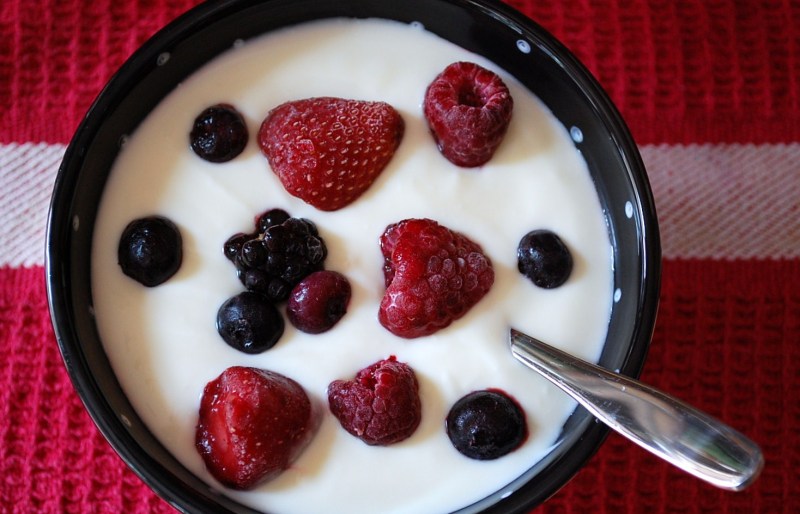

 Yogurt was high on my list of cooking challenges to conquer. I don’t even want to consider the money I’ve spent on quart after quart of whole milk yogurt and even greater amounts spent on those 6 ounce tubs of the incredibly rich, sweetened Liberte brand! I am a yogurt addict when it comes down to it. Over a year ago I began to make my own lovely batches starting with pasteurized organic supermarket milk. When we began to use raw milk the yogurt improved even more. I’ve had a half-dozen failure batches but not only was that part of the shallow learning curve, but you can always find a use for it in baking and smoothies, frozen in cubes for a “frozen yogurt”… I have strained dozens of quarts of yogurt into yogurt cheese, added lemon and salt for a Middle Eastern Labene and made my own Greek yogurt by whisking half of super-long strained yogurt with the looser stuff. Yogurt making is now a relatively effortless part of my schedule. I simply use a quart of Stonyfield plain whole milk yogurt as a starter culture; it makes a smooth and mild yogurt. It usually last me from 4-5 weeks before I need to buy a new one. You can buy small boxes of yogurt starter in the supermarket, however, they usually only make a small amount and I find them rather expensive. Another option is to order a perpetuating culture (one you can re-use from batch to batch) from Cultures for Health, they carry a fascinating variety of yogurt strains.
Ingredients:
Starter culture or Plain whole milk yogurt (preferably organic)
*You need 1 tablespoon starter yogurt per quart of milk. Don’t be tempted to add more, in this case more does not equal better or thicker yogurt. It actually can inhibit proper setting or can turn the yogurt quite sour.
Raw milk or organic milk
Directions:
1. Heat the milk (I’m making 4 quarts in this recipe) to 180º. Watch for overflowing pans. If your pan does overflow it likely means that it went over 180º, which is actually ok, I have overheated my milk so many time and yet it still manages to turn out. Basically you end up pasteurizing the milk with this step. I don’t like to do this to my milk but I figure you still are getting the beneficial bacteria from the incubating process. The reason I prefer the higher temperature is because you create a much firmer yogurt. If you prefer, you can simply heat the milk to 110º instead and preserve the live enzymes. Of course if you are using already pasteurized milk you wouldn’t need to bother trying to be gentle with the heat.

2. Cool the milk to 110-111º. I would be more precise about this temperature because you don’t want to kill the starter culture. If you wish to speed this process along (it can take over an hour to cool) simply place the whole pot into a sink filled with cold (or ice) water. 
3. Put your starter into glass jars (I use 1/2 gallon jars) and pour a small amount of the cooled milk through a sieve (this removes any “skin” that may have formed during the heating step) into the jars. Whisk gently to combine.
4. Pour the rest of the milk through the sieve into the jars. Stir gently. Cap tightly and incubate 6-12 hours at a temperature of around 110-115º. I find around 8 usually works best for me. The longer incubation results in a more tart, usually firmer yogurt. You may have to get creative for this step. I have wrapped my yogurt in towels and left it on the counter, left it in the oven with the light on, (this never worked well for me, you actually need a pilot) but I found filling my laundry tub with hot water works excellently, even though I may need to change the water once or twice. Other methods of incubation include putting the yogurt in a preheated thermos, a heating pad and towels, using a crock pot on the warm setting, an insulated cooler with hot water poured inside…

")

Excellent!!! I was just thinking that I really need to learn to make yogurt before our cow starts giving milk so I am ready. Once again, you have come through for me. Thanks.
Thanks! And by the way, this is so much easier than the number of steps makes it sound like. There is a lot of explanations to inform on what I have picked up on yogurt-making but really, it’s so simple! Oh, and those glass 1/2 gallon jars, they areincredibly useful, especially in making yogurt!
Pingback: the rooms in my home | part two: kitchen | two handfuls of
So glad you love it too!